Living with Art | How to Hang and Style Artwork
How to Hang & Style Artwork
For home and studio.
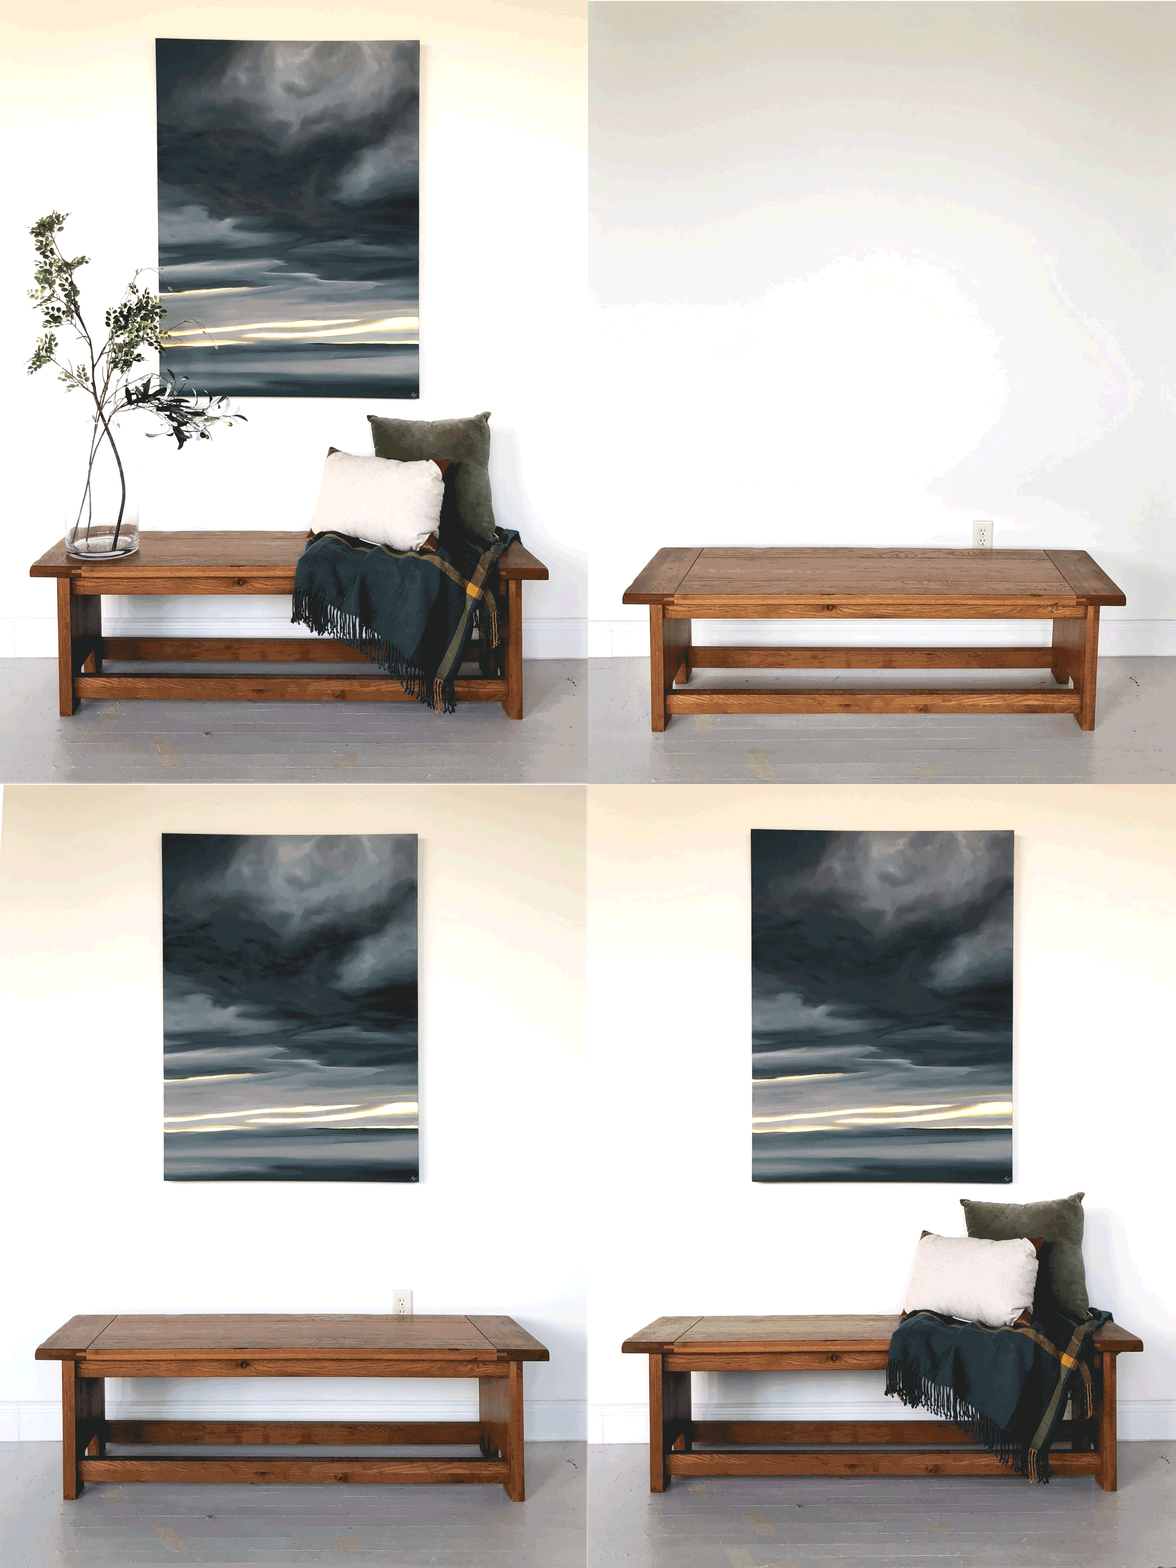
Styling artwork in a home can be tricky, and envisioning a big, intimidating painting in a real life can be difficult! I’ve been making more of an effort to put my artwork into context, helping collectors visualize how I imagine my pieces living in a home, by creating a styled vignette to photograph my works in my studio. I looked to a few other artists and designers for styling cues, and my past experience working in galleries to gather my best tips — just how to create that perfectly balanced, effortlessly styled, livable scene that keeps the artwork the star of the show.
A few favorite examples:
1. Start with the Artwork:
Back in my art school days, as curatorial assistant managing my college’s art collection and working in a few galleries I learned the most important rule to hang artwork at THE PERFECT HEIGHT.
THE PERFECT HEIGHT: Artwork should be hung CENTERED at 60-62 inches. 60” tends to be industry standard (based on the average line of sight for most people), but in my home since we are relatively tall, or in a larger space with taller walls, I prefer to hang my work towards the higher end of 62”.
That means that the very center of the painting should be at 60-62” inches. For the sake of simple math let’s go with 60” — here is a little formula (this is when my inner math nerd comes out, hope I don’t lose you!) to help you calculate the height to place your wall hook:
Divide the total height of the artwork in half. (Total height/2 = h)
Add h to 60” ( h + 60 = i)
Measure from the top of your artwork to the top of the hanging wire/hook on the back of the piece. If it is a frame/canvas with wire, use your finger to pull the wire tight towards the top to get the accurate measurement as if the artwork was actually hanging. For this formula, we will call this measurement ( j ). Subtract this measurement from i ( i - j = the perfect height to place your wall hook!)
Use this as a guide for the perfect height placement for your artwork, with an inch or two of flexibility based on your particular artwork and interior, and any furniture you may be styling under it. Center the piece from left to right on your wall, or over a particular piece of furniture.
Once the artwork is hung, the fun part begins with decor!
2. Add an anchor piece of furniture.
Based on the location in your home, choose a piece of furniture to anchor the space — a bench, side table/desk, chair, or fireplace mantle! Personally, I lean towards clean, classic lines. When in doubt, keep it simple, especially to allow the artwork to be the star of the show. The anchor piece helps to keep the artwork from feeling like it is floating out to nowhere, but instead ties it to the space.
3. Add personality and some coziness.
This is where you add a bit of yourself! Through a cozy blanket and understated pillows, or favorite coffee table books and knick-knacks. Add a little flavor! Aesthetically, I lean for muted colors and patterns to compliment the artwork, and not distract. But if your personality is bit more bold, find an accent color within the artwork and go for it!
4. Add a delicate touch and some height to the composition with greenery.
I love glass vases and greenery to add a delicate touch, and draw the eye upward through the composition, back towards the artwork. You can find affordable faux branches at your local craft store, or take some hedge clippers to your backyard trees!
And that’s it, the perfectly “effortless” vignette for your artwork!
My studio vignette:
Painting featured: Sonder
Bench: FB Marketplace thrift find (snagged it for just $35!)
Blanket: Target, Hearth & Hand Stadium Blanket
Pillows: Target, Threshold Lumbar pillow & Green pillow
Vase: Target, Hearth & Hand Glass Vase
Greenery: miscellaneous fall stems from Michaels


